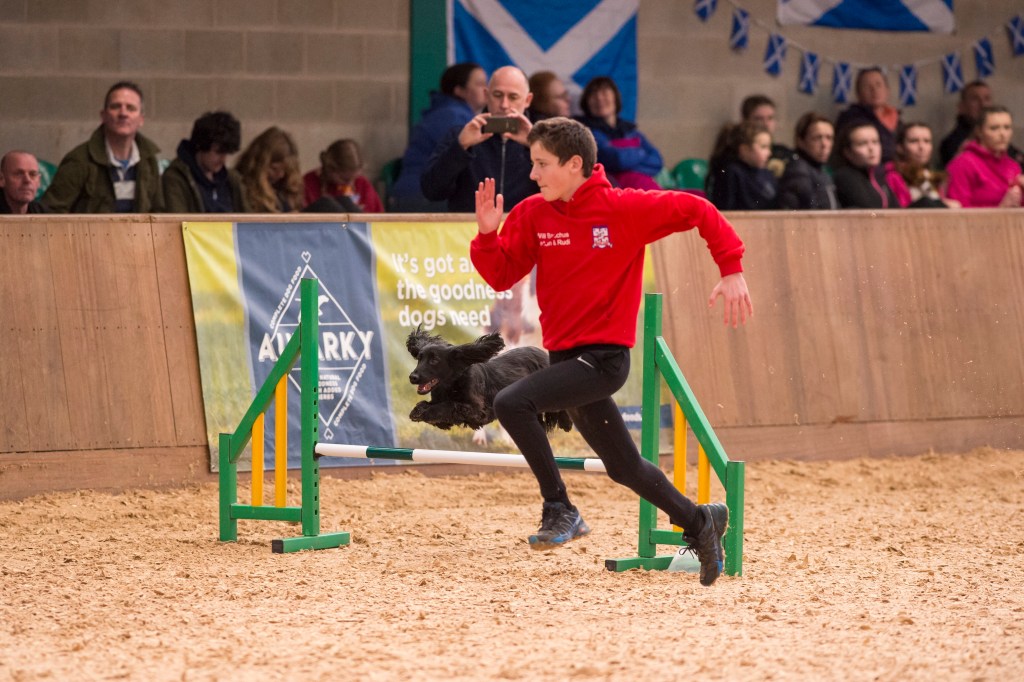
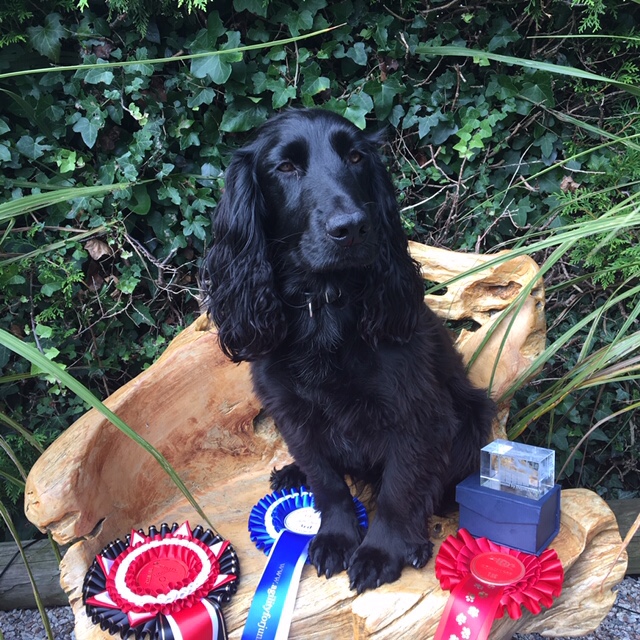
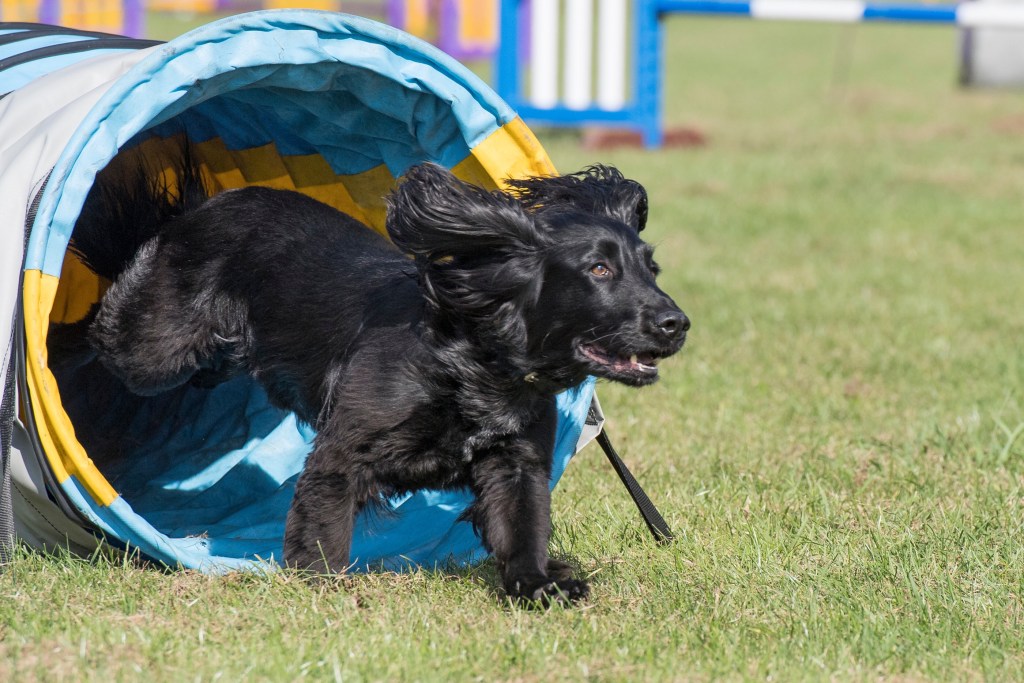
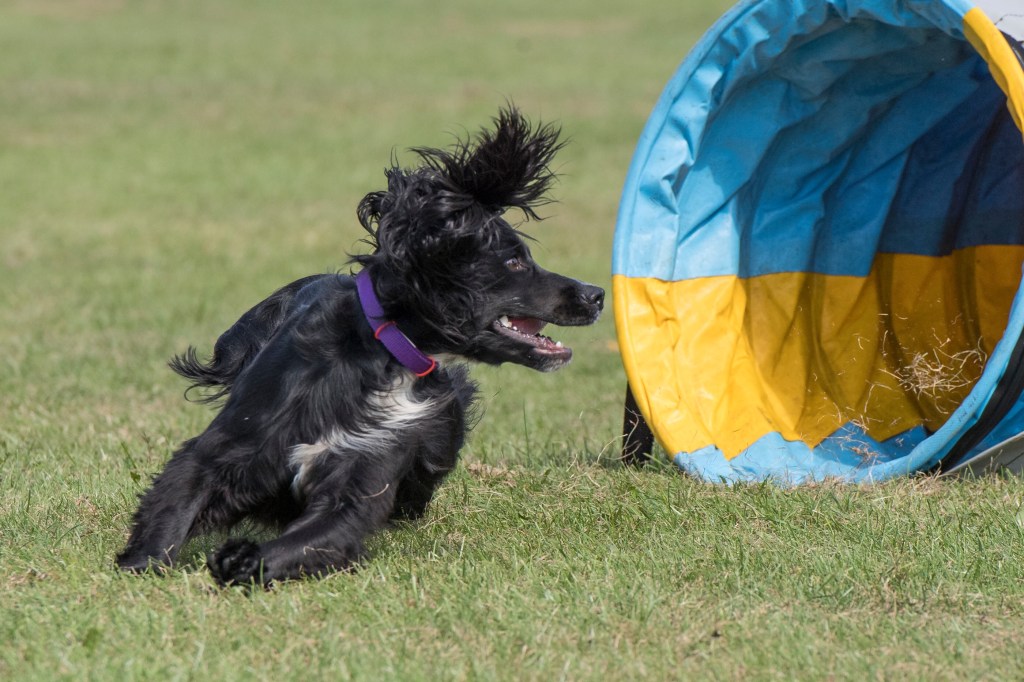
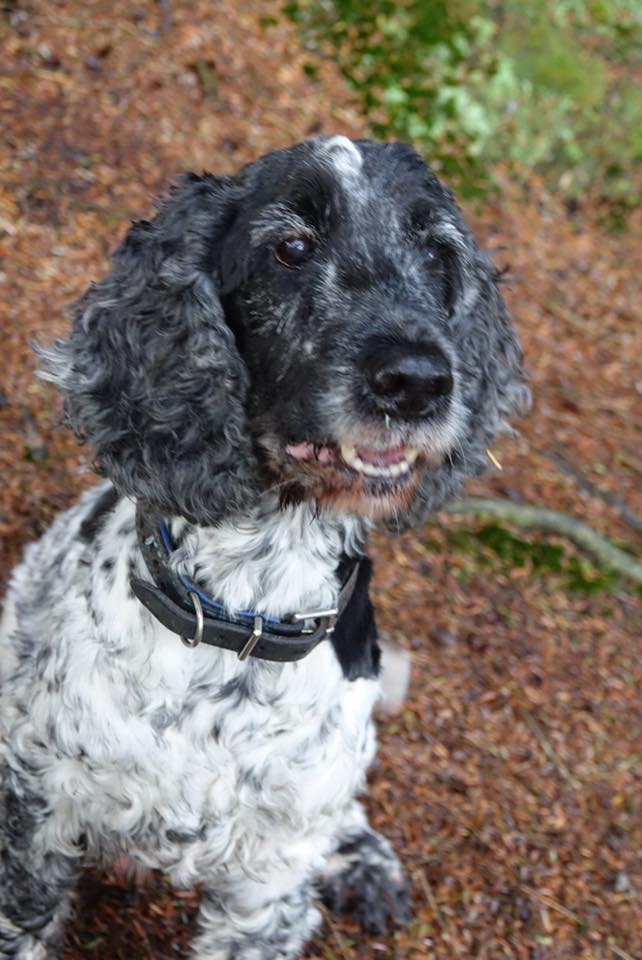
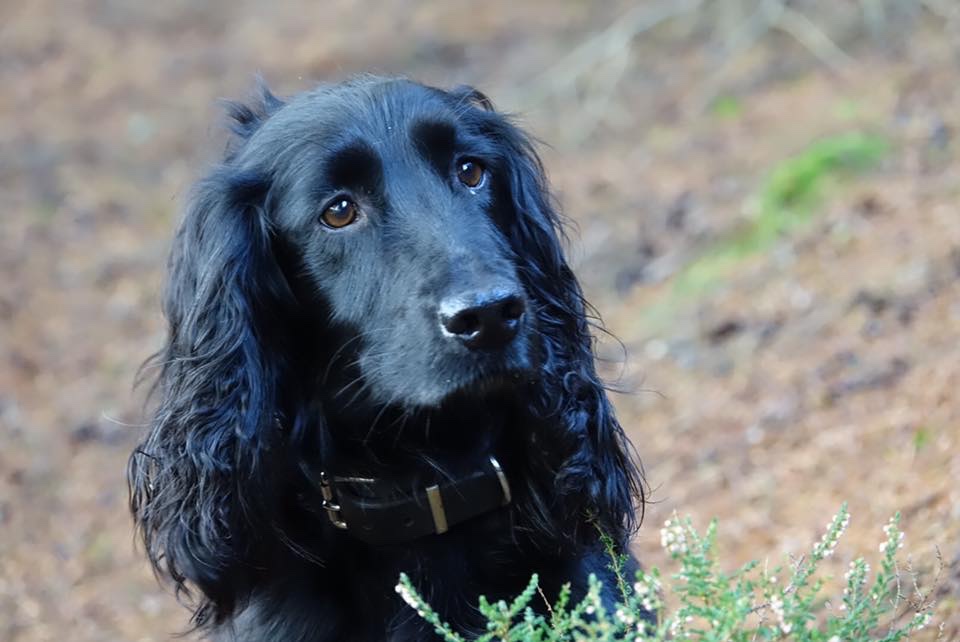
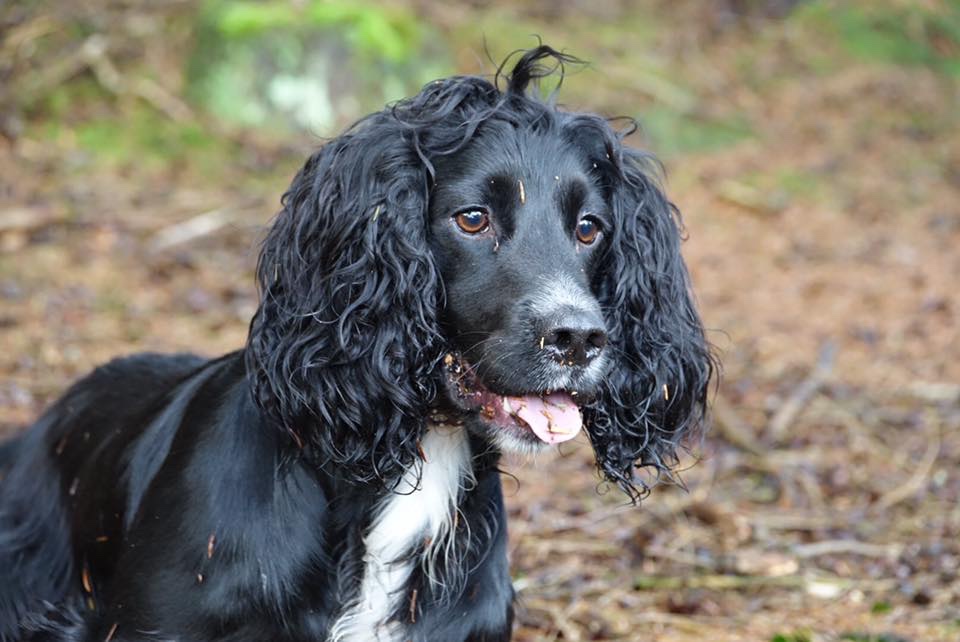
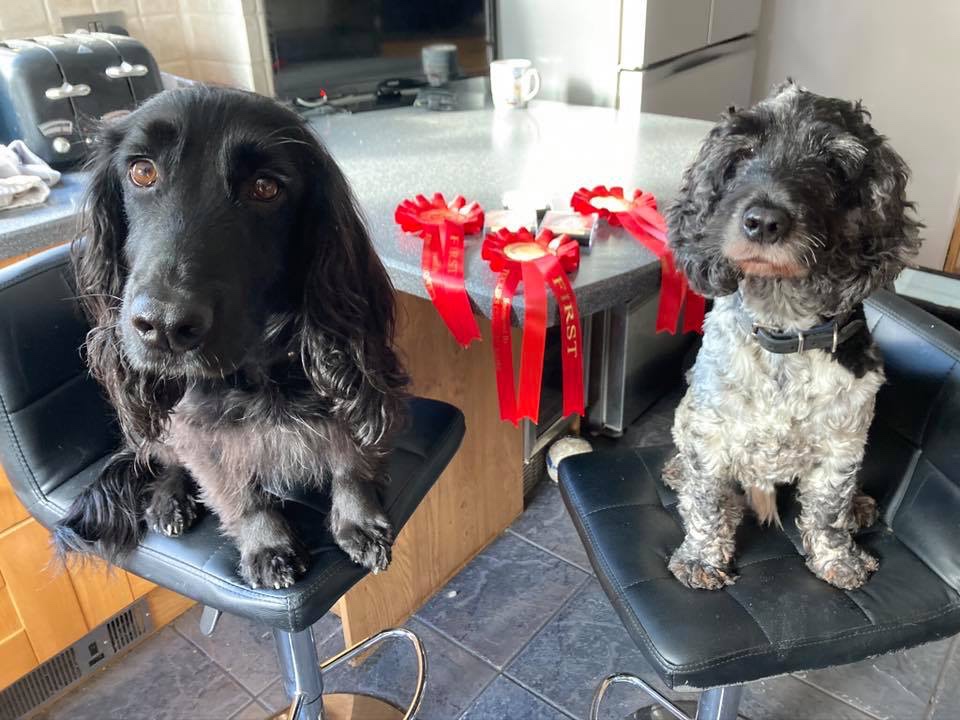
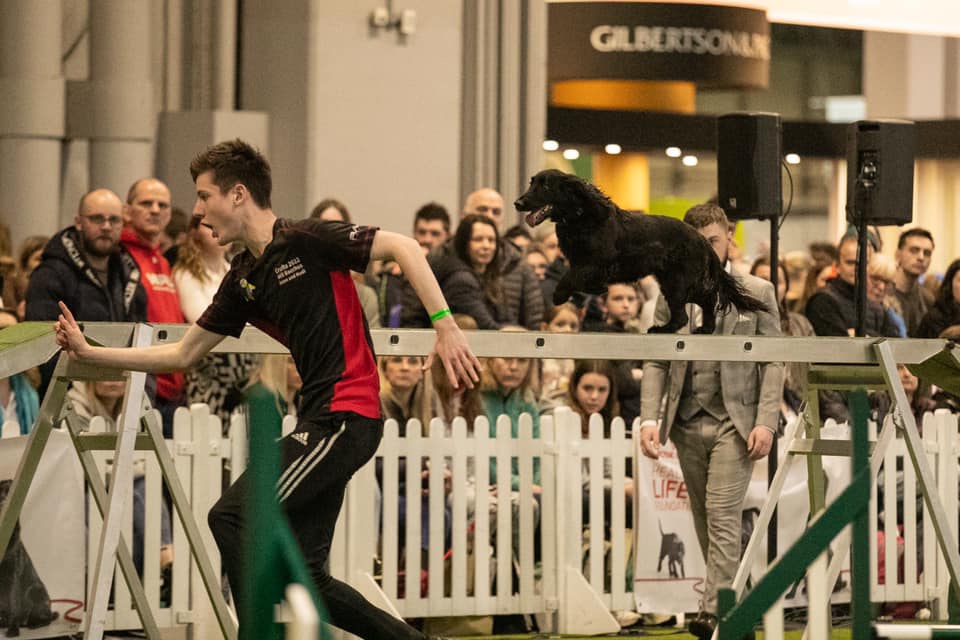
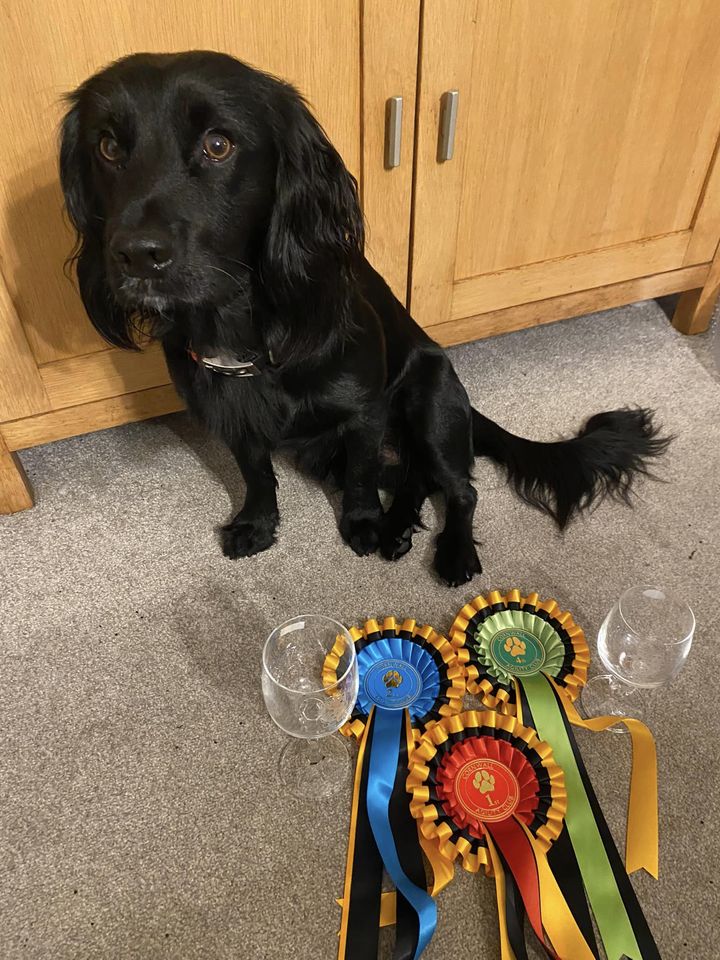
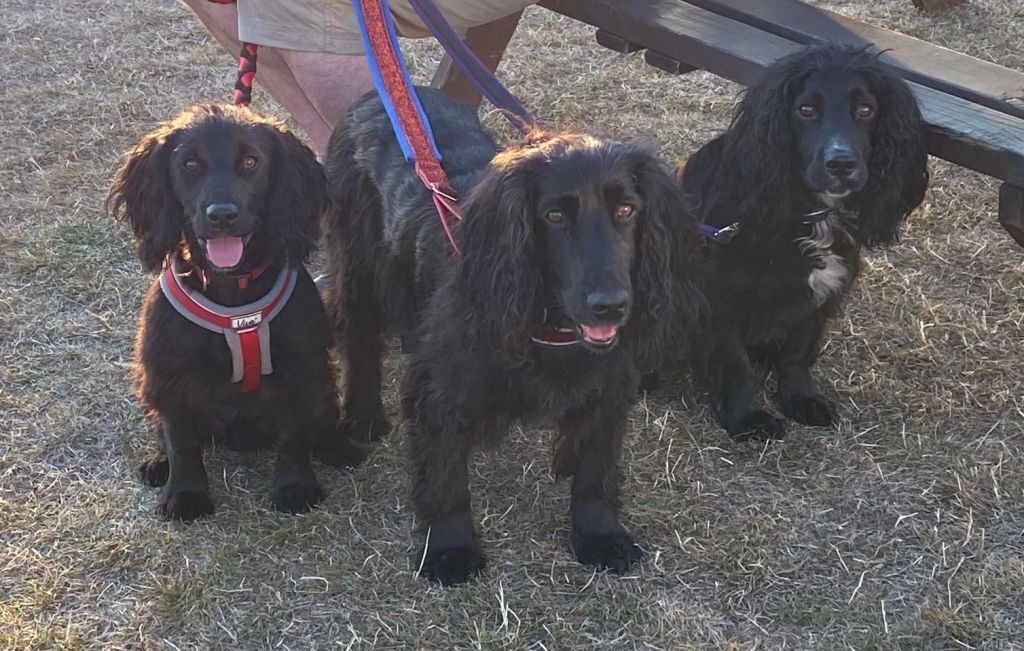
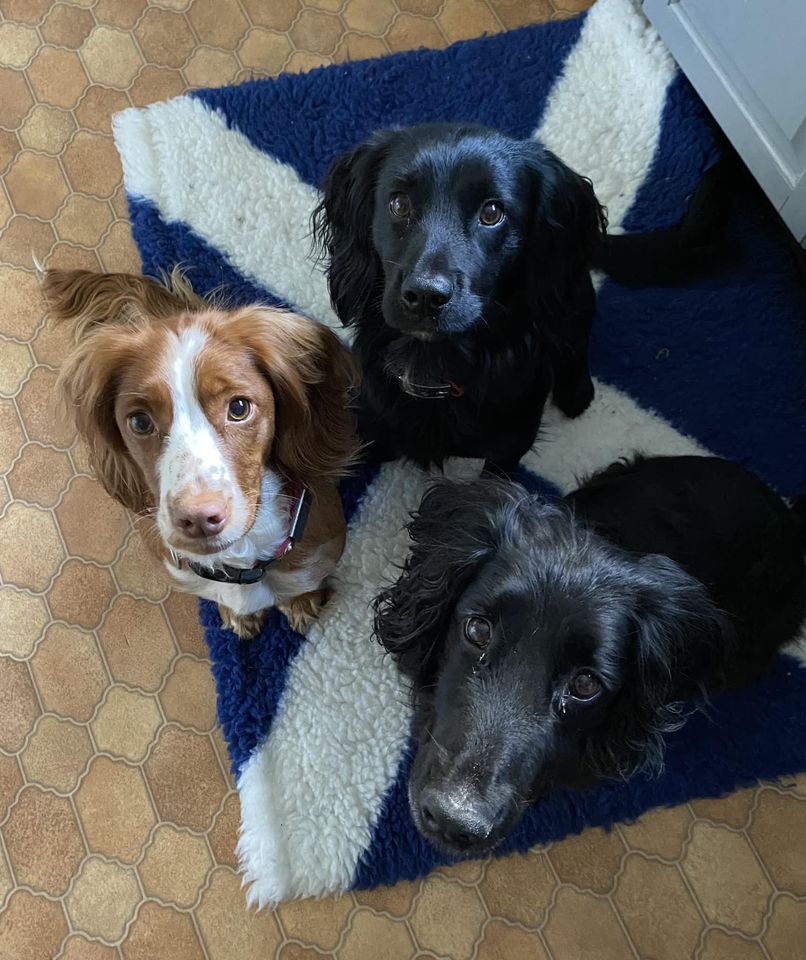
Gallery Photo credit – Sean Cameron Photo credit – Sean Grylls Share this: Share on X (Opens in new window) X Share on Facebook (Opens in new window) Facebook Like Loading...